Gutters are the unsung heroes of home maintenance, quietly directing rainwater away from your foundation, walls, and landscaping. At the heart of this system is the gutter downspout—a vertical pipe that channels water from the roof to the ground or a drainage solution. But what happens when the downspout is too long, too short, or damaged? That’s where cutting comes in. Cutting a gutter downspout
Introduction: Why Properly Cutting a Gutter Downspout Matters
Gutters are the unsung heroes of home maintenance, quietly directing rainwater away from your foundation, walls, and landscaping. At the heart of this system is the gutter downspout—a vertical pipe that channels water from the roof to the ground or a drainage solution. But what happens when the downspout is too long, too short, or damaged? That’s where cutting comes in.
Cutting a gutter downspout isn’t just about trimming excess material—it’s about ensuring efficient water flow, preventing pooling near your home, and avoiding costly repairs down the line. A poorly cut downspout can lead to clogs, leaks, or even structural damage from water seeping into your foundation. Whether you’re a homeowner tackling a weekend project, a DIY enthusiast upgrading your gutter system, or a contractor fixing a client’s drainage, precision is everything.
So, why might you need to cut a downspout? Common scenarios include:
- Adjusting Length: Shortening a downspout to fit a new gutter extension or splash block.
- Replacing Sections: Removing a rusted or dented portion of an aluminum downspout.
- Customizing Angles: Trimming to connect with a downspout elbow for better water direction.
In this ultimate guide, we’ll walk you through every step of cutting a gutter downspout, from gathering tools to smoothing the edges. You’ll also get pro tips, troubleshooting advice, and insights into when it’s time to call in the experts. Let’s get started!
Understanding Gutter Downspouts: Materials and Functions
Before diving into the cutting process, it’s worth understanding what you’re working with. Gutter downspouts come in two main materials: aluminum and vinyl. Each has unique properties that affect how you cut and handle them.
- Aluminum Downspouts: Lightweight, durable, and rust-resistant, these are a popular choice for modern homes. They require a bit more force to cut but hold their shape well.
- Vinyl Downspouts: Affordable and easy to work with, vinyl is common in DIY setups. However, it’s prone to cracking if mishandled during cutting.
Downspouts typically measure 2×3 inches or 3×4 inches, depending on your gutter system’s capacity. Their job? To move water efficiently from the roof to a safe discharge point—think extensions, underground drains, or splash blocks. A precise cut ensures this system works seamlessly.
Tools Needed for Cutting a Gutter Downspout
Having the right tools is half the battle. Here’s a detailed rundown of what you’ll need, plus some optional extras for a polished finish:
- Hacksaw: The go-to for aluminum downspouts. Opt for a fine-tooth blade (24 teeth per inch) for cleaner cuts.
- Tin Snips: Perfect for vinyl downspouts. Choose compound snips for extra leverage on thicker material.
- Measuring Tape: A 25-foot tape is ideal for measuring long downspouts accurately.
- Marker or Chalk Line: Use a permanent marker for visibility on aluminum or chalk for vinyl to mark your cut line.
- Clamps or Workbench: Essential for stability. A pair of C-clamps or a sturdy workbench keeps the downspout from shifting.
- Safety Gloves: Protect your hands from sharp edges—leather or cut-resistant gloves work best.
- Safety Goggles: Shield your eyes from metal shavings or plastic debris.
- File or Sandpaper: Smooth out rough edges post-cut. A metal file works for aluminum; 120-grit sandpaper suits vinyl.
- Optional: A utility knife for scoring vinyl or a miter box for angled cuts.
Investing in quality tools pays off with cleaner cuts and fewer headaches. If you’re a contractor, brands like DeWalt or Milwaukee offer durable options. For homeowners, basic tools from your local hardware store will suffice.
Step-by-Step Guide: How to Cut a Gutter Downspout
Now, let’s get to the nitty-gritty. Follow these five detailed steps to cut your gutter downspout with confidence.
Step 1: Gather the Right Tools & Materials
Preparation is key. Lay out all your tools on a clean, flat surface so they’re within reach. For aluminum downspouts, ensure your hacksaw blade is sharp—dull blades tear metal instead of cutting it. For vinyl, check that your tin snips are clean and free of rust for smooth action.
If you’re working outdoors, set up a portable workbench or a sturdy table. Keep a trash bin nearby for scraps, and wear your safety gear from the start. Trust me—sharp edges don’t wait for you to slip up.
Step 2: Measure & Mark the Cut Line
Accuracy here prevents rework later. Use your measuring tape to determine the exact length you need. For example:
- If connecting to a gutter extension, measure from the elbow to the ground, leaving a 2-inch overlap.
- If replacing a damaged section, measure the old piece and subtract any excess.
Mark the cut line with a straightedge and marker. For vinyl, a chalk line snaps a perfect guide; for aluminum, a bold marker stands out against the metal. Double-check your measurement. It’s better to measure twice and cut once than to waste a downspout.
Pro Tip: Wrap masking tape around the downspout at the cut line. It reduces chipping on vinyl and gives you a clearer marking surface on aluminum.
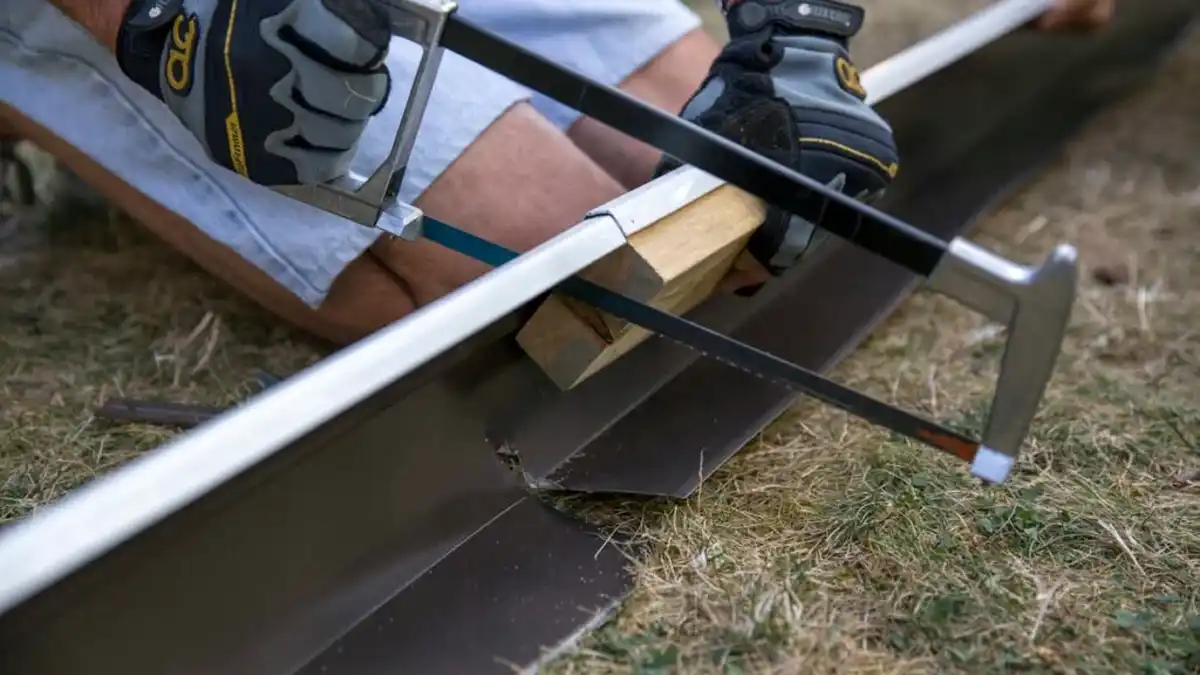
Step 3: Secure the Downspout for Stability
A wobbly downspout is a recipe for jagged edges. Secure it firmly:
- On a Workbench: Clamp the downspout at both ends, leaving the cut line accessible.
- On the Ground: Lay it flat and weigh it down with heavy objects (like bricks) if clamps aren’t handy.
- In Place: If it’s still attached to the gutter, brace it with your free hand or ask a helper to hold it steady.
Stability ensures your cut stays true. If you’re working at height, safety trumps speed—use a ladder stabilizer or scaffold for support.
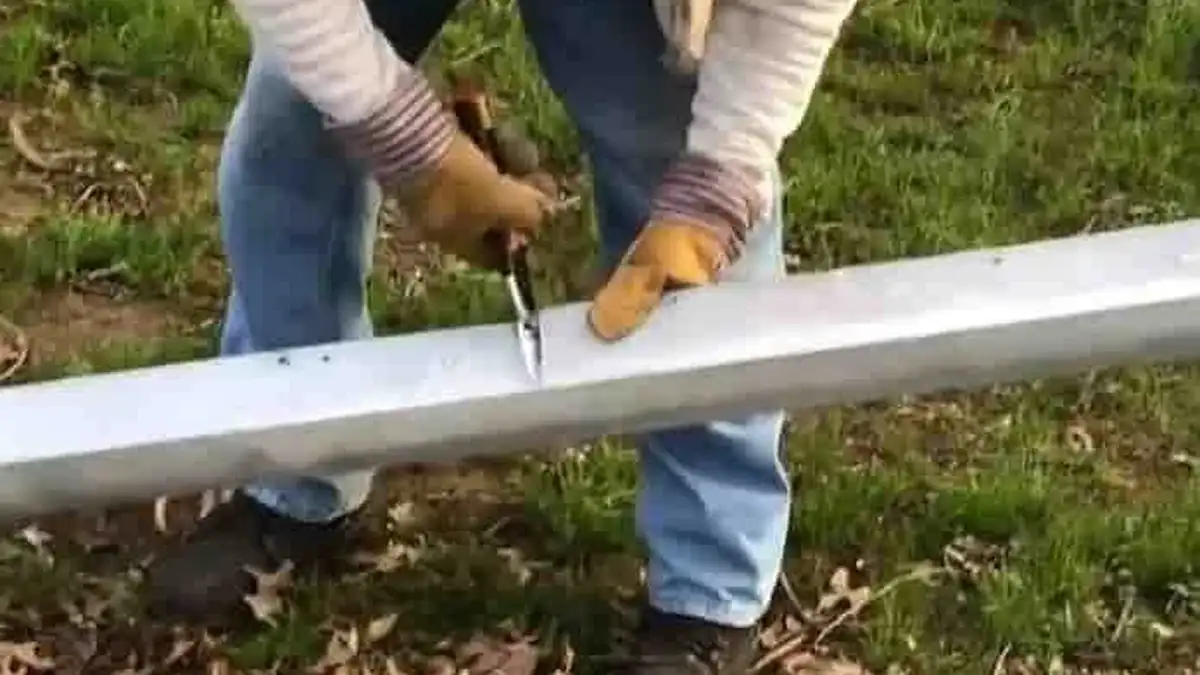
Step 4: Choose the Right Cutting Method
The material dictates your technique. Here’s how to handle each:
- Tool: Hacksaw with a 24-TPI blade.
- Technique: Start with a light score along the line to create a groove. Then, saw with steady, even strokes. Apply moderate pressure—let the blade do the work. Cut all four sides if it’s a rectangular downspout, or work around a round one.
- Pace: Go slow to avoid bending the thin metal. If it starts to flex, pause and reposition your clamps.
- Tool: Tin snips or a fine-tooth hand saw.
- Technique: With snips, start at one edge and work across, squeezing firmly but gently to avoid cracking. For a saw, score the line first with a utility knife, then cut slowly. For thick vinyl, snip from opposite sides to meet in the middle.
- Pace: Vinyl is softer but brittle—rushing can split it. Take your time.
Safety Note: Keep your free hand clear of the blade path. Metal shavings and plastic shards can fly, so goggles are non-negotiable.
Step 5: Smooth the Edges & Install the Downspout
A rough edge isn’t just unsightly—it can snag debris or injure you during installation. Here’s how to finish:
- Aluminum: Use a metal file to smooth burrs. Work in one direction for a polished look.
- Vinyl: Sand with 120-grit sandpaper until the edge feels even.
Test-fit the cut piece. If it’s connecting to an elbow or extension, slide it on to check alignment. Secure it to the gutter system with downspout brackets or straps, spacing them every 6-10 feet for stability. Run water through the system (a hose works) to confirm proper flow—no leaks, no backups.
Troubleshooting Common Cutting Problems
Even pros hit snags. Here’s how to fix them:
- Jagged Edges: Caused by a dull blade or unsteady hands. Swap the blade and re-clamp the downspout, then trim lightly to clean it up.
- Cracked Vinyl: Overpressure or cold weather can split it. Warm the vinyl with a hairdryer (not too hot!) and re-cut with snips.
- Bent Aluminum: Too much force warps it. Flatten it gently with a rubber mallet before trimming again.
- Wrong Length: If too short, add an extension. If too long, re-measure and trim carefully.
Practice on a scrap piece if you’re unsure—better to mess up there than on your actual downspout.
Safety Precautions: Protecting Yourself and Your Home
Cutting downspouts isn’t rocket science, but it’s not without risks:
- Sharp Edges: Wear gloves—freshly cut metal or plastic can slice skin easily.
- Debris: Goggles stop shavings from hitting your eyes. Sweep up afterward to avoid stepping on scraps.
- Ladder Safety: If working at height, use a spotter and secure your ladder. Falls are the top DIY injury.
- Tool Handling: Keep blades pointed down when not in use, and store them safely.
A little caution goes a long way toward a safe, successful project.
When to Call a Professional
DIY is rewarding, but some situations call for expert help:
- High or Complex Gutters: Multi-story homes or steep roofs need scaffolding and experience.
- Severe Damage: Rusted, warped, or collapsed downspouts might signal a bigger gutter issue.
- Time Constraints: If you’re juggling a busy schedule, pros can knock it out faster.
For top-tier gutter services in Auckland, contact My Homes Construct Ltd. We specialize in gutter installation, repairs, and maintenance. Call us at 022 315 8987 for a free quote or expert advice. Don’t let drainage problems dampen your day—let us handle it!
Maintaining Your Gutter System Post-Cut
A clean cut is just the start. Keep your gutters in top shape with these tips:
- Inspect Regularly: Check for clogs, loose brackets, or leaks every spring and fall.
- Clean Debris: Leaves and twigs can block flow—use a gutter scoop or pressure washer.
- Test Flow: Pour water from the roofline to ensure the downspout directs it properly.
A well-maintained system lasts longer and protects your home better.
Master Your Gutter Downspout Cuts
Cutting a gutter downspout is a practical skill that boosts your home’s drainage and your DIY confidence. With the right tools—hacksaw for aluminum, tin snips for vinyl—and a methodical approach, you’ll get clean, precise cuts every time. From measuring twice to smoothing edges, each step builds toward a gutter system that works like a charm.
Whether you’re tweaking a downspout elbow, replacing a section, or fitting an extension, this guide has you covered. And if the job gets too big? My Homes Construct Ltd is a phone call away at 022 315 8987. We’re Auckland’s go-to for gutter repairs and installations. Get your free quote today and keep your home dry and damage-free!
Frequently Asked Questions
Metal vs. Vinyl Downspouts: Which Is Easier to Cut?
Both have pros and cons: Aluminum: Harder to cut but more forgiving if you bend it slightly. It holds up better in harsh weather. Vinyl: Easier to slice through but cracks under stress. It’s lighter and cheaper, ideal for quick fixes. For beginners, vinyl is less intimidating. Contractors often prefer aluminum for its longevity and professional finish.
Gutter Help Across Auckland
If this guide raised a question about your own home, the My Homes Construct Ltd team is here to help. We provide professional gutter cleaning, repair and replacement services right across Auckland — North Shore, West Auckland, Central Auckland, East Auckland and South Auckland — along with the surrounding suburbs.
Every enquiry starts with free, no-obligation advice and a written quote. We're a registered building company and back our work with a workmanship warranty as per your quotation, so you can move forward with confidence.
When to Call a Professional
The trickiest part of any gutter cleaning, repair and replacement project is often knowing when to stop and call someone in. Warning signs worth taking seriously include recurring problems, damage that keeps spreading, anything involving safety or access at height, and work that touches the structure of your home.
In those situations a professional opinion pays for itself. We're always happy to take a look and tell you straight whether it's something you can manage yourself or a job better left to a registered building company — with no obligation either way.
A Quick Checklist for Auckland Homeowners
Whatever you decide to do next, a few simple principles will save you money and stress on any gutter cleaning, repair and replacement job in Auckland. Act early — Auckland's wet, humid climate turns small problems into expensive ones faster than most people expect. Get it in writing — a clear, itemised written quote protects you and makes comparing options straightforward. Check it's a registered building company — it matters for quality, consent and warranty cover. Ask about the warranty — reputable Auckland tradespeople stand behind their workmanship, not just the materials. Think long-term value, not just the cheapest price — the lowest quote is rarely the best value once durability is factored in.
Keep these in mind and you'll avoid the most common — and most costly — mistakes we see on Auckland properties.
Need Professional Help in Auckland?
My Homes Construct Ltd provides expert gutter and full home-improvement services across all Auckland suburbs. Get a free, no-obligation quote today.